Showing posts with label hearts. Show all posts

Wednesday, February 11, 2015

String of Love: Simple Valentine's Decor by Kim Hyer

Every year February sneaks up and kisses me. I am unsuspecting...

I seem to always come back to this easy 1 hour project.

What you'll need:

A sewing machine
Heart shapes ( I use CM punches)
a old magazine
pink & red card stock

Here we go.....


Punch a few dozen shapes from a magazine. Do not worry about content or color. 

Just punch. Make a few from card stock for your exteriors and 
centers.


Take your pieces and stack them. Card stock on the front, back and center. You should have magazine pages (2 or 3) in between.


Line them up with the needle at the top point of the heart.


Stitch. I leave a machine top width between each heart. It is an easy measurement of about 6 inches.


I put 10 sets on a sting. I keep stitching between hearts because I like the twisted thread look.


Now fold the exterior pieces together against the thread.


One by one keep folding the magazine pages together. I do not fold the center card stock.


It will be a heart ball when you're done.
  

Do all ten pieces.
 

Then hang.
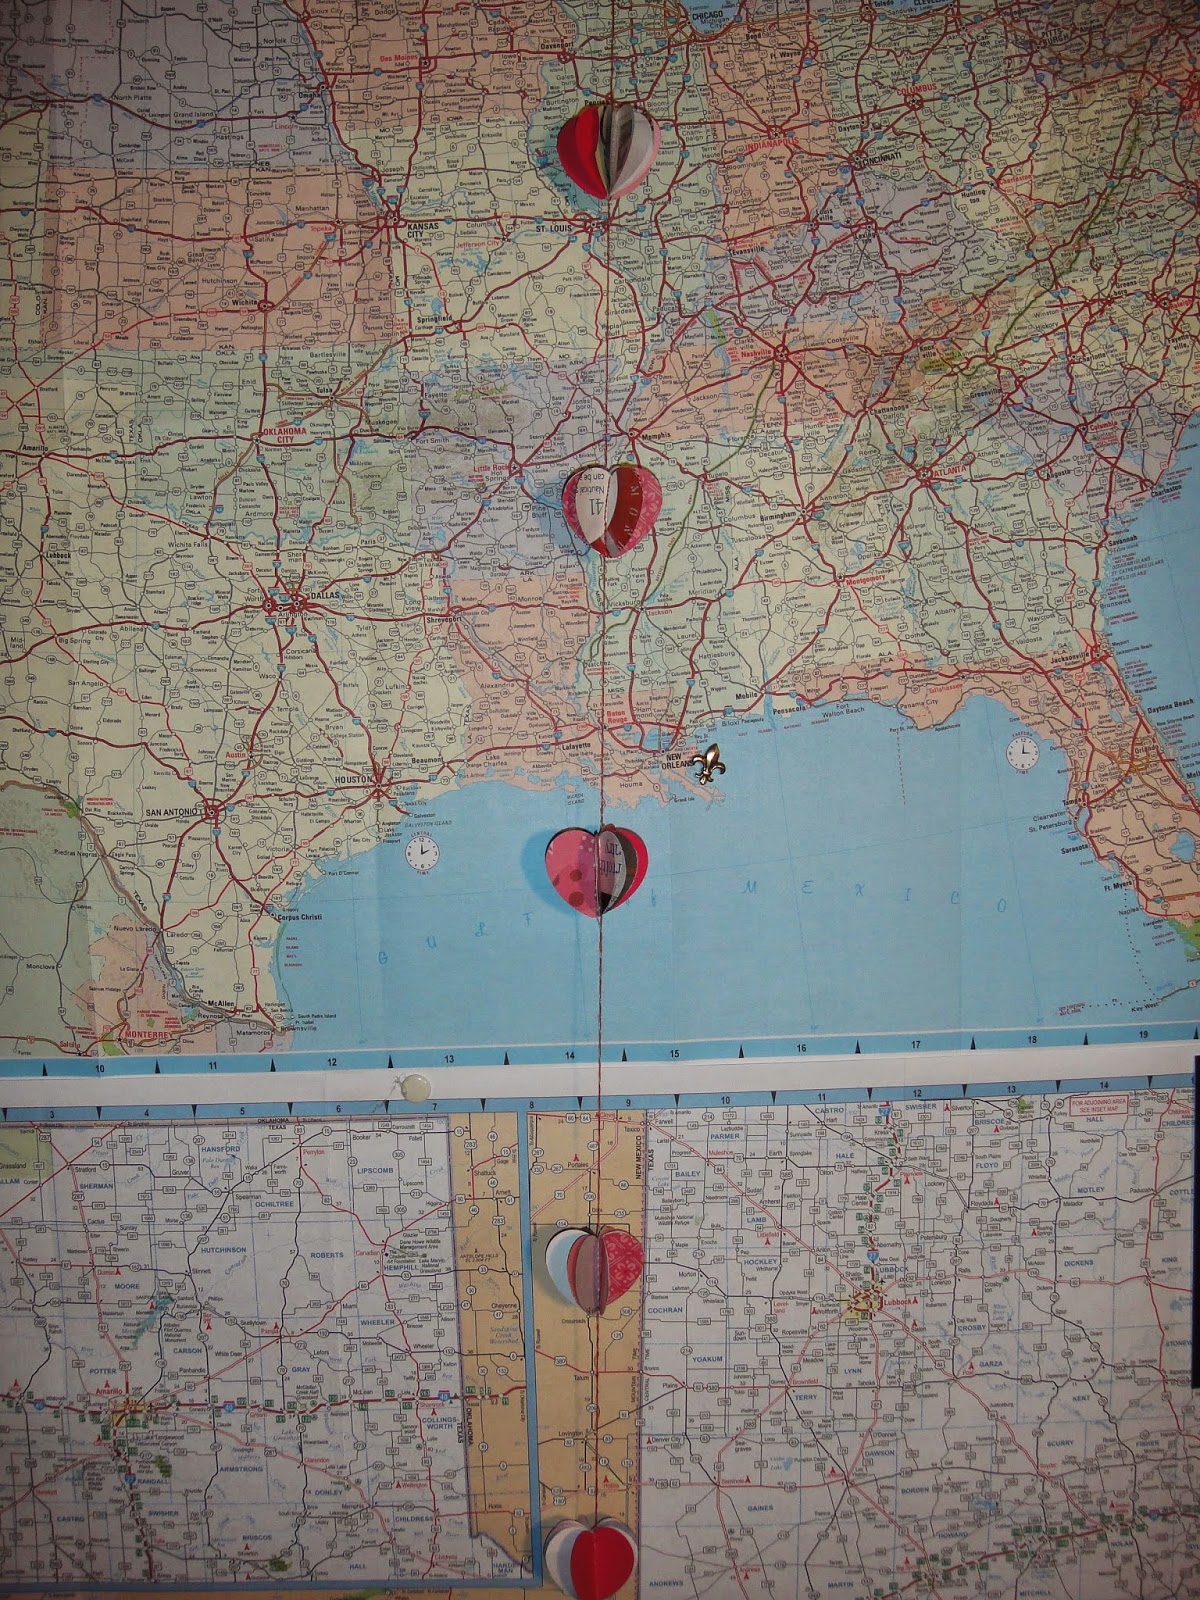

Now you have a festive little string of love.

I have used different shapes and sizes of this same approach for parties and other holidays.

Enjoy!

Kim 

Where to find me:


Make your String of Love then come over and post your pictures!!

Our Facebook Group Cre8ive Klatch


Monday, February 9, 2015

Valentine Fabric Tag Tutorial by Laney McDonald


Hi there! This is Laney from Sugarplum Patchwork and I'm happy to share this Valentine fabric tag tutorial with you today.  This is a quick little tag to stitch and you can vary the design based on the colors/fabrics you choose. I made two versions so you can get some ideas.


What you will need:

scrap fabrics
cardboard from an old cereal box, etc.
sewing machine (or hand sewing thread and needle)
embroidery floss and embroidery needle - optional
stamps and stamp pad  - optional
ribbon


What you will do:

Choose fabrics. For my first design, I chose an old upholstery fabric sample for my main fabric. I love the texture in this piece. And I chose a satin-y lining fabric in pink for the hearts. For my second tag I used some hand painted canvas I created a few years ago.

Cut the background fabric to 5" x 6"

You will fold it in half right sides together and stitch along the long edge and across the bottom to make the body of the tag. Leave the top edge open.Turn it right side out.
It should measure about 2  3/4 x 4  3/4 inches - depending on the thickness of your fabric. Like this pic below. I have already cut my hearts out and started playing around with where I want them.  ;)  But let's get back to the program!


Cut a piece of cardboard to about 4 3/8  x   2  3/8 inches. Don't worry too much about this measurement, just get close. Err on the side of too big rather than too small.


Put cardboard inside the fabric pocket. Trim the cardboard slightly, if needed.


Stitch the remaining end closed. You can turn the edges under or leave the raw edge out depending on the look you prefer. Stitch all the way around the card just in from the edge.


Cut two hearts from the pink fabric. (Unless you've already gotten ahead like I did!)

Stitch them to the card.

Then stitch the words "Be" and "Mine" on the hearts with free motion stitching. Or you could embroider the words or stamp them onto fabric. That's what I did for the second tag.

Use embroidery thread to stitch straight stitches along one side if you like.

Using scissors, make a hole in the top of the fabric card and tie the ribbon through it.

Enjoy!


Happy Valentine's Day!


 Share your tags with us in the Facebook group!


You can find me here:

Tuesday, December 23, 2014

A Gift from the HeART by Linda Kay's Art


What a wonderful way to share the love you feel for friends and family by making a handmade gift. Something that will show them, every day, that they are well thought of and loved.


This is what I did for some very special friends who saw me through a very difficult time recently.
I needed a simple, economical yet meaningful gift to give to my friends as a small token of my gratitude. I chose a heart.


I was perusing Pinterest recently for ideas and found a 4 sided heart ornament made of paper that I instantly fell in love with. So, to make it very personal, I chose a 3 sided design as that is a special number for me and holds deep meaning that I wanted to embed in my gifts.

Now I went into production mode!

After cutting out a bunch of hearts with my Cricut machine, I went about and put these heart ornaments together. First I creased a line down the center with my ruler and bone folder.


I gather a lot of soft colors and pretty designs for my hearts as I wanted to reflect my loving thoughts with sweet colors and patterns.


I cut lots of fibers to use as hangers and set them aside.


Choosing which ones worked well together was a lot of fun. I worked on a crafting mat to help keep the mess manageable. 


Using Modge Podge and a 1" flat brush, I started pasting them together. One heart laid face down, the other two folded in half and matching edges with the first.


Laying the folded fiber hanger in half, I placed it in the center of the remaining side, laid on enough glue and squeezed the pieces together keeping the hanger as close to the center as possible. Some of them were a bit lumpy and bumpy, but I didn't think that hurt any of them. I just made sure to fill them with good thoughts of love and hugs!


I let them dry overnight and hoped my cats would not try to run off with too many of them. They really like to sleep on this table and love yarn even more!


I tied on some shiny beads; one on the top, two on the bottom.


I have a special ornament hanger that I got from Crate and Barrel last year which worked out perfectly for the display. It created quite a interest at my party where everyone was encouraged to pick one out and take it home. 


So, if you need to make a special gift on a budget and don't have a lot of time, these little hearts might just be the trick. 


Best wishes and Happy Holidays!

Linda Kay

Use these links to find me. 

And make sure to come by the FB group and share all your projects!!