Showing posts with label Valentine. Show all posts

Wednesday, February 11, 2015

String of Love: Simple Valentine's Decor by Kim Hyer

Every year February sneaks up and kisses me. I am unsuspecting...

I seem to always come back to this easy 1 hour project.

What you'll need:

A sewing machine
Heart shapes ( I use CM punches)
a old magazine
pink & red card stock

Here we go.....


Punch a few dozen shapes from a magazine. Do not worry about content or color. 

Just punch. Make a few from card stock for your exteriors and 
centers.


Take your pieces and stack them. Card stock on the front, back and center. You should have magazine pages (2 or 3) in between.


Line them up with the needle at the top point of the heart.


Stitch. I leave a machine top width between each heart. It is an easy measurement of about 6 inches.


I put 10 sets on a sting. I keep stitching between hearts because I like the twisted thread look.


Now fold the exterior pieces together against the thread.


One by one keep folding the magazine pages together. I do not fold the center card stock.


It will be a heart ball when you're done.
  

Do all ten pieces.
 

Then hang.
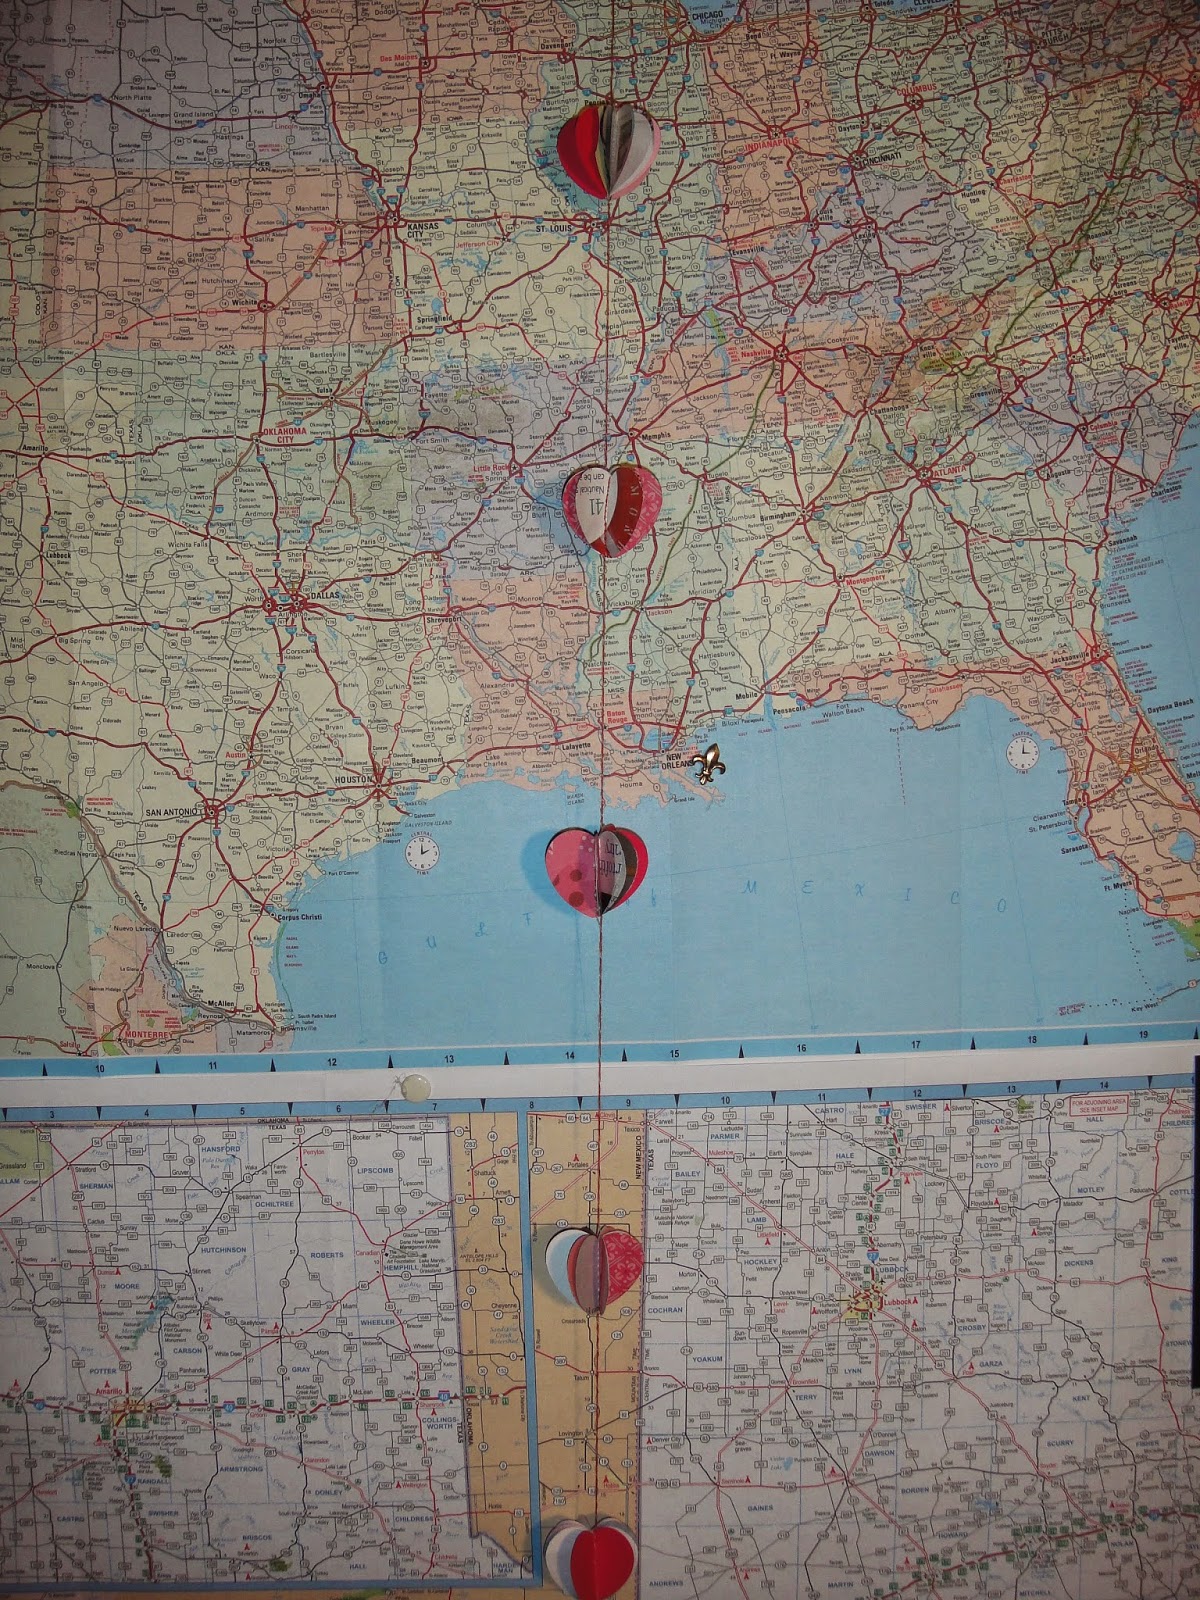

Now you have a festive little string of love.

I have used different shapes and sizes of this same approach for parties and other holidays.

Enjoy!

Kim 

Where to find me:


Make your String of Love then come over and post your pictures!!

Our Facebook Group Cre8ive Klatch


Monday, February 9, 2015

Valentine Fabric Tag Tutorial by Laney McDonald


Hi there! This is Laney from Sugarplum Patchwork and I'm happy to share this Valentine fabric tag tutorial with you today.  This is a quick little tag to stitch and you can vary the design based on the colors/fabrics you choose. I made two versions so you can get some ideas.


What you will need:

scrap fabrics
cardboard from an old cereal box, etc.
sewing machine (or hand sewing thread and needle)
embroidery floss and embroidery needle - optional
stamps and stamp pad  - optional
ribbon


What you will do:

Choose fabrics. For my first design, I chose an old upholstery fabric sample for my main fabric. I love the texture in this piece. And I chose a satin-y lining fabric in pink for the hearts. For my second tag I used some hand painted canvas I created a few years ago.

Cut the background fabric to 5" x 6"

You will fold it in half right sides together and stitch along the long edge and across the bottom to make the body of the tag. Leave the top edge open.Turn it right side out.
It should measure about 2  3/4 x 4  3/4 inches - depending on the thickness of your fabric. Like this pic below. I have already cut my hearts out and started playing around with where I want them.  ;)  But let's get back to the program!


Cut a piece of cardboard to about 4 3/8  x   2  3/8 inches. Don't worry too much about this measurement, just get close. Err on the side of too big rather than too small.


Put cardboard inside the fabric pocket. Trim the cardboard slightly, if needed.


Stitch the remaining end closed. You can turn the edges under or leave the raw edge out depending on the look you prefer. Stitch all the way around the card just in from the edge.


Cut two hearts from the pink fabric. (Unless you've already gotten ahead like I did!)

Stitch them to the card.

Then stitch the words "Be" and "Mine" on the hearts with free motion stitching. Or you could embroider the words or stamp them onto fabric. That's what I did for the second tag.

Use embroidery thread to stitch straight stitches along one side if you like.

Using scissors, make a hole in the top of the fabric card and tie the ribbon through it.

Enjoy!


Happy Valentine's Day!


 Share your tags with us in the Facebook group!


You can find me here:

Wednesday, February 4, 2015

Felt and Burlap Valentine's Day Tag by Ursula Smith

I wanted to make a Valentine's Day tag that wasn't too girly and lacy, so I looked around my craft room to see what I could use. I had metal that I could have used, but then I saw some burlap and some red felt. I decided to try to make a tag using those two materials.

Here is how the tag turned out so far...


It is still a little wet, so you can still see some of the gel. Once it has completely dried, the gel will be clear and all you will see is the burlap through the felt. I think I would like to add some hearts cut from the felt on the top section.

You can watch this YouTube video to see how I made it....


I experimented a bit more with burlap, and will post these ideas on my own blog. Here is one idea for burlap and rubber stamps.

Thanks for visiting the Cre8ive Klatch. If you wish to see more of my ideas, tips, techniques and experiments, you can find me here:

Ursula-Smith.com/Blog

Facebook

Twitter

Creative Clearinghouse

C'mon over and chat with us!


Cre8ive Klatch

Monday, February 2, 2015

Cre8ive Kids Corner: Love Tree Tutorial by Kelly Corso

New and exciting to have Kelly Corso heading up our "Cre8ive Kid's Corner" with fun projects for children (or kids of any age!).


Valentines Day is sneaking up on us and I wanted to do a cute, quick, cheap and  easy project with my girls. They had off school on MLK Day and I drummed up this idea of a Love Tree. This is one you may enjoy doing with your children.
I picked all these materials up at the dollar store, how can you beat that? So, for approximately $5 we made these and have left over materials! This is what you will need:

-Red construction paper
-Plain white paper (any type will do)
-Glue stick
-Markers
-Foam heart stickers
-Glitter glue(totally optional but if your kids are like mine they are all about the glitter!!!)


All you have to do is:
- Cut a circle out of the white paper for the top of the tree.
   (I used the top of a pot to trace the circle)
-Glue the circle on the top of your red construction paper
-Draw a tree trunk- any style, anything goes!
- Start putting the hearts wherever you want them to go
Bada Bing! You got yourself a love tree!


I decided to be adventurous and do something I had never done before- film this adventure for you all to see! While I have a lot to learn, I'm pretty proud of our first little tutorial and you guys will get to watch us grow along the way. My girls had a great time as well!


One of the great things about making art with your children is that it creates a safe, relaxed environment to have a conversation with them. You begin creating these bonds early, talking about their feelings and thoughts on the world around them hopefully making a clear and open path for them to always come to you if they have something on their mind.

Hope you enjoyed our first video!

Now go out, make love trees with your kids and ask them what is on their minds- they just might surprise you!


Places you can find me:

Look for more Cre8ive Kid's corner Projects and chat about them with our Facebook group:


Cre8ive Klatch