Showing posts with label art project with kids. Show all posts

Monday, March 2, 2015

Cre8ive Kids Corner: Truffula Tree Tutorial

Happy Birthday Dr Suess!!!

I just love Dr. Seuss, who doesn’t? 

Theodor Seuss Geisel was an outside the box thinker with his writings and his artwork. Many people don’t know that he also drew over 400 political cartoons in a 2 year period for The New York City daily newspaper.

When I asked the girls what kind of project they wanted to make in honor of his birthday, they both said Truffula Trees. The Lorax has always been one of my favorites because of the artwork and the powerful message of taking care of our environment. I like this project because it incorporates recycled materials, keeping with the core message of the story. The rest can be found at the dollar store!


Here are the materials you need:
-Toilet paper tubes or paper towel
-Square of cardboard
- Paint
-Different color tissue papers
-Glue
-Pom Poms (optional, I got mine at the dollar store)


Here is the video of the girls making theirs and below I will post a short step by step!


1- Paint your cardboard base green (or any color- it is Dr.
 Seuss and we can think outside the box!!!)
2- Set aside base to dry and paint your paper towel tubes any 
color
3- Take approximately 6 6x6 colored sheets of tissue paper
and fold them accordian style, like you are making a fan.
Staple near the bottom.
4- Once everything is dry, glue your tree trunk onto your
base.
5- Glue pom poms around the base of your trunk. (This is
optional! The girls really wanted to because they look like
little bushes!)
6. Open up your tissue paper, fan it out and crinkle it a little
until it is how you want it to look.
7. Pop it in the trunk and bada bing- you got yourself a
truffula tree and happy kids!

Places you can find me:

Facebook


(our facebook group)

We can't wait to see all the cre8ive things you come up with!

Wednesday, February 11, 2015

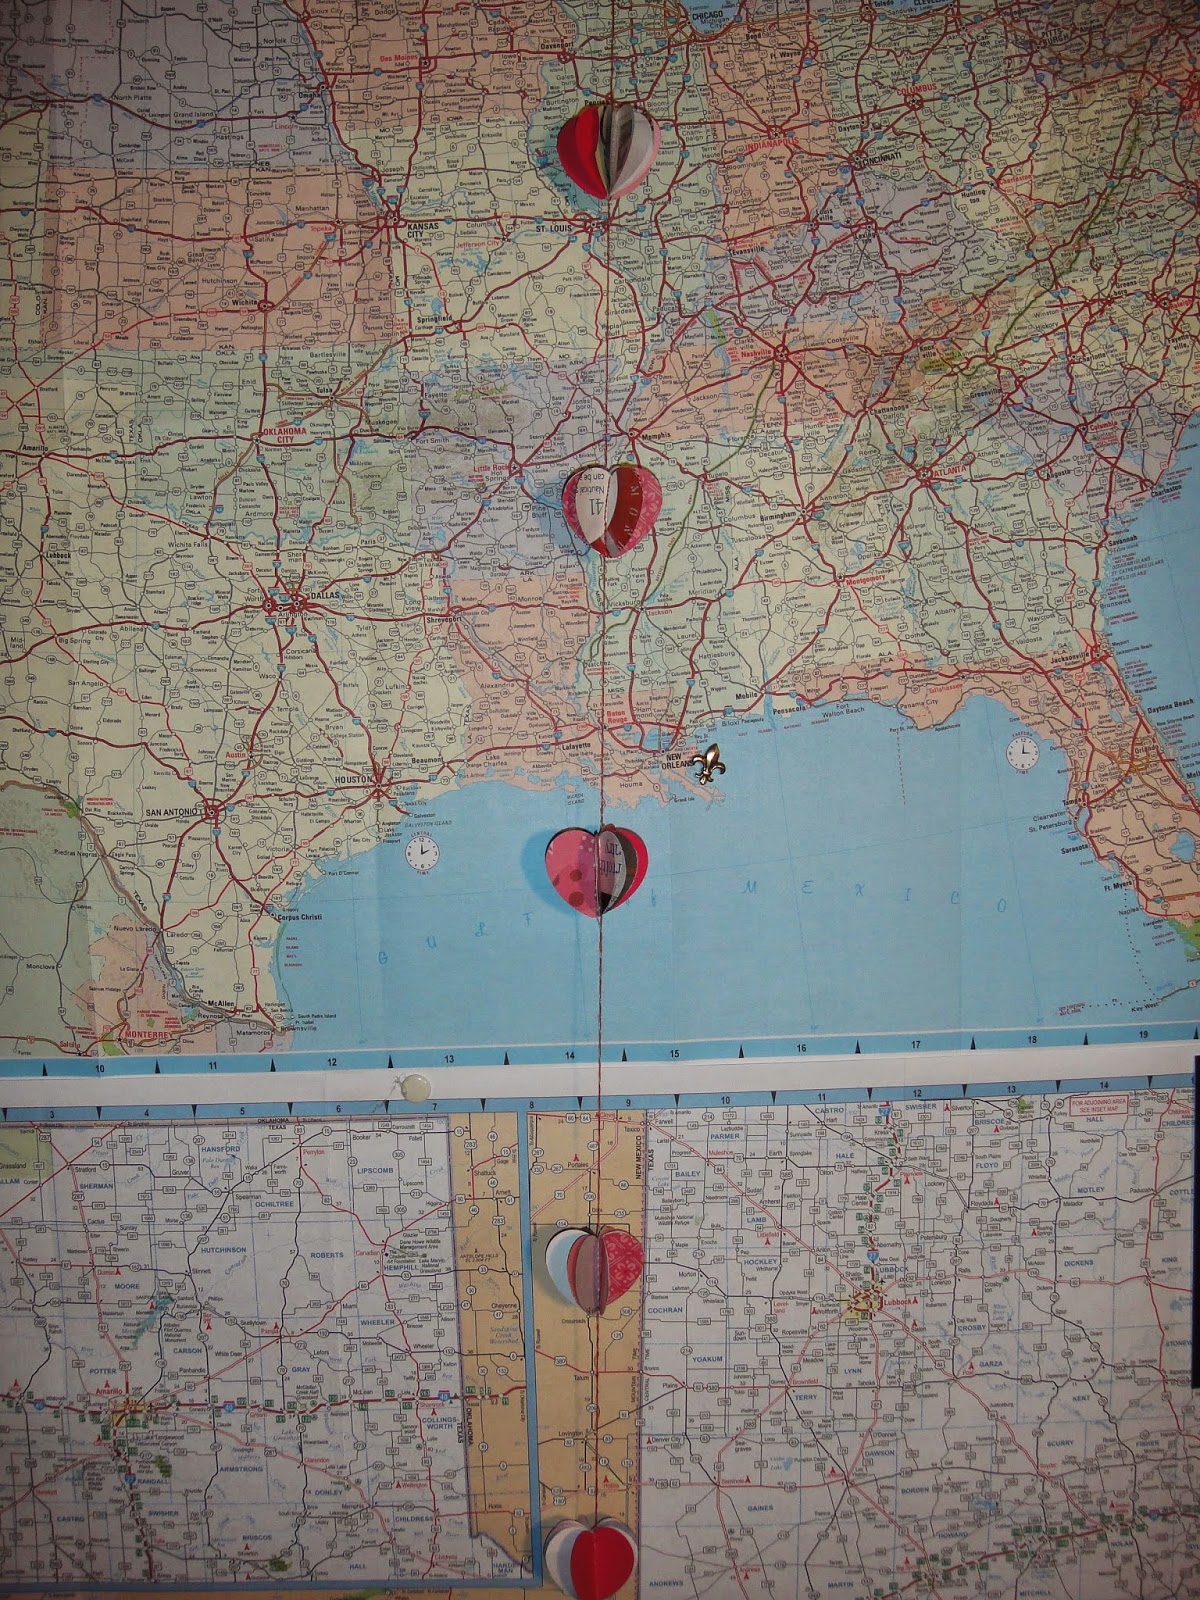
String of Love: Simple Valentine's Decor by Kim Hyer

Every year February sneaks up and kisses me. I am unsuspecting...

I seem to always come back to this easy 1 hour project.

What you'll need:

A sewing machine
Heart shapes ( I use CM punches)
a old magazine
pink & red card stock

Here we go.....


Punch a few dozen shapes from a magazine. Do not worry about content or color. 

Just punch. Make a few from card stock for your exteriors and 
centers.


Take your pieces and stack them. Card stock on the front, back and center. You should have magazine pages (2 or 3) in between.


Line them up with the needle at the top point of the heart.


Stitch. I leave a machine top width between each heart. It is an easy measurement of about 6 inches.


I put 10 sets on a sting. I keep stitching between hearts because I like the twisted thread look.


Now fold the exterior pieces together against the thread.


One by one keep folding the magazine pages together. I do not fold the center card stock.


It will be a heart ball when you're done.
  

Do all ten pieces.
 

Then hang.


Now you have a festive little string of love.

I have used different shapes and sizes of this same approach for parties and other holidays.

Enjoy!

Kim 

Where to find me:


Make your String of Love then come over and post your pictures!!

Our Facebook Group Cre8ive Klatch


Monday, February 2, 2015

Cre8ive Kids Corner: Love Tree Tutorial by Kelly Corso

New and exciting to have Kelly Corso heading up our "Cre8ive Kid's Corner" with fun projects for children (or kids of any age!).


Valentines Day is sneaking up on us and I wanted to do a cute, quick, cheap and  easy project with my girls. They had off school on MLK Day and I drummed up this idea of a Love Tree. This is one you may enjoy doing with your children.
I picked all these materials up at the dollar store, how can you beat that? So, for approximately $5 we made these and have left over materials! This is what you will need:

-Red construction paper
-Plain white paper (any type will do)
-Glue stick
-Markers
-Foam heart stickers
-Glitter glue(totally optional but if your kids are like mine they are all about the glitter!!!)


All you have to do is:
- Cut a circle out of the white paper for the top of the tree.
   (I used the top of a pot to trace the circle)
-Glue the circle on the top of your red construction paper
-Draw a tree trunk- any style, anything goes!
- Start putting the hearts wherever you want them to go
Bada Bing! You got yourself a love tree!


I decided to be adventurous and do something I had never done before- film this adventure for you all to see! While I have a lot to learn, I'm pretty proud of our first little tutorial and you guys will get to watch us grow along the way. My girls had a great time as well!


One of the great things about making art with your children is that it creates a safe, relaxed environment to have a conversation with them. You begin creating these bonds early, talking about their feelings and thoughts on the world around them hopefully making a clear and open path for them to always come to you if they have something on their mind.

Hope you enjoyed our first video!

Now go out, make love trees with your kids and ask them what is on their minds- they just might surprise you!


Places you can find me:

Look for more Cre8ive Kid's corner Projects and chat about them with our Facebook group:


Cre8ive Klatch

Thursday, November 13, 2014

How To Make Your Own Christmas Holiday Art Tag by Jill Lambert

Have you looked at your calendar lately? We are rapidly coming up on the holidays...rapidly!!


Here's a lovely Snowman project sure to bring a little sweet holiday cheer to your decorations!


I’m a Wisconsin native so I have lots of experience with snow in the winter. Not by choice I will admit though! However, I love snowmen, real ones and painted ones. Not sure why since I’m not a fan of snow or cold weather, other than the first beautiful snowfall or snow at Christmas time. Maybe they remind me of youth, whimsy and just having fun! Here’s one my daughter and I made a few years ago...As you might be able to guess it started melting, then froze again in this crazy yoga backbend.


Today I’m going to show you how to make a little Christmas holiday tag that you can use to give on a gift or as a little piece of handmade art as well. You could even keep it for yourself and hang it on a doorknob during the holidays if you love it so much you just can’t part with it!

Materials needed:

  1. Cardboard Piece, cardstock OR pre-cut tag 
  2. Scissors (if need to cut down a size) 
  3. Hole Punch 
  4. Gesso (optional) 
  5. Paints of your Choice - maybe 3-5 colors (I use acrylic) 
  6. Brushes, Water for Cleaning Brushes 
  7. Tools for stamping (stamps, stencil, flat pencil eraser, wine cork, etc.) 
  8. Ribbon 


1. Cut your cardboard/cardstock to a size you’d like. I made mine 3.5” by 4.75.”

2. Punch one hole in the top left corner or center. That’s where your ribbon for hanging will go when you’re all done creating.


3. If you want, cover the cardboard with a layer of white gesso or white paint. I only did this so I could start on a white background. You can paint right on the cardboard if you want, but you just may have to do more layers.


4. Using stamps and stencils, randomly create marks on your piece. It really can be in any pattern because much of this will be covered up by more paint. It’s nice to just see a few marks underneath your next layer - this gives your piece texture, interest and depth.


5. Cover your background stamps and marks with a solid color or two if you like. Some of your marks will show through which is what you want. First I used a soft turquoise, then I chose a deep magenta because I’m not much a neutral-color girl. Notice my white circle marks now look a bit red! I can’t really see many of my other marks - that’s okay though! If you want to be sure to see these earlier marks, use a darker paint. Mine clearly wasn't dark enough.


6. Then I hand-painted some white snowflakes - you can do as many or as little as you want.


7. Now dip your brush into the white paint, then your water and splatter all over to get the effect of snow falling. 


8. Now paint the three snowballs of a snowman. I did mine freehand with paint. You can do it in pencil first but I sort of like the look it takes on just doing it freehand first. A funky snowman is a cute snowman I say! I actually did two separate coats of white for the snowman, letting it dry about ten minutes in between.


9. Now it’s time to add some sweet details like eyes, mouth, carrot nose, twig arms and scarf. You can be as detailed or as simple as YOU want! Other ideas to add: a hat, ornaments hanging from the arms, buttons, a bird on its head, etc.


10. Next, either use stickers, stencils or hand-paint a festive word above your cute snowman. I used the word “JOY” from stickers I had. I used Mod Podge to attach them - I put the stickers down and put the Mod Podge ON TOP of them. 


11. Now you can tie your ribbon and call it finished! After the fact I sort of wish I put the hole in the center because it would hang straighter, but I still think its sweet! You could also punch holes on the left and right and thread the ribbon through both of them.

Other ideas/ways to use your sweet snowman tag:

  • make a few with your kids and hang them from a tree branch from outside that you have in a vase inside for decorations 
  • hang as an ornament 
  • give as teacher gifts to your favorite teachers 
  • use as a gift tag on a present; you can write “to and from” on the front or the back if you don’t want to cover up your art 
  • hang on the corner of a bathroom mirror to add a little holiday decor every time you wash your hands 
  • hang on the inside of a window from the lock so you can see it every time you do dishes at the kitchen sink 

You can see more of Jill's art and her process at:

Jill's Dream


or shop for her lovely creations at:

Jill's Etsy shop


And don't forget to come on over and join the cre8ive conversation at our Facebook group: