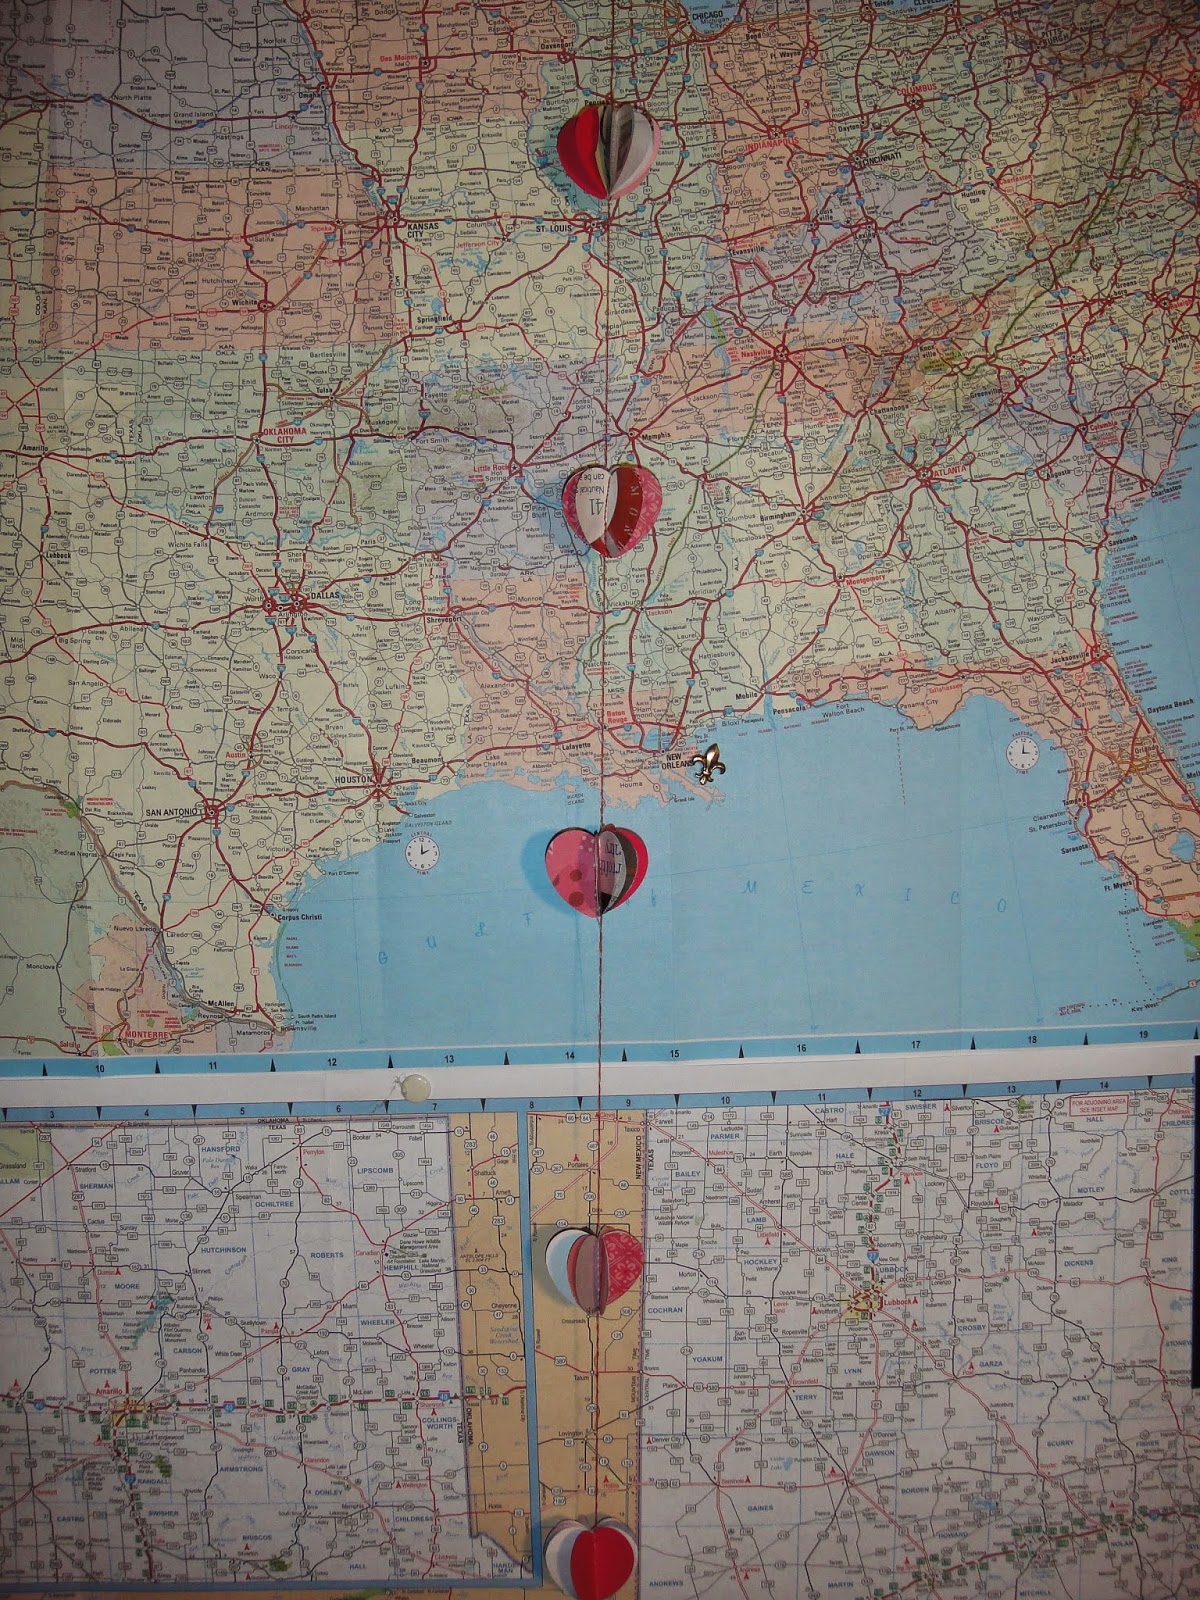
I have recently relocated to Oregon just a pinch south of Portland.
That being said I get to re-assemble a working studio. Join me in this journey.
I live on 4 acres with a 15 X 30 shop, a similar size garage and a huge barn. I had plans. Grand plans....
So after several weeks of debates (in which I lost) sadly I didn't get the shop or the garage. I can have the barn. The upstairs with the rats and spiders. No heat and a trek in the freezing wet weather through the mud.
So let me tell you about my space I do get.
It's cozy. It's painted peach (ugh) and my new name is Harry Potter. If you have read the first book you will understand. If not, Go here and you'll understand. I am in the cupboard under the stairs.
Hee Hee Hee!!!

"the cupboard under the stairs"
So, the first step was to move this junk to the barn. Tractor with a wagon and teenage boy.

So there is the junk...
Here is the transformation...... drum roll. Please????

Much like a blank canvas. I now can start from scratch. Designing and getting my creative juices going. Trying to sort and fit only what I will need into my 6 X 6 space.
Don't for a second get the mistake. I am over the moon to have the cupboard under the stairs. It has been 9 months without a space to paint, play and create.
Next was a trip to storage. Worse than it sounds. I got some shelving and some boxes. I attempted to be selective about tools, paints, ephemera and what not.
I moved from a custom made art room 10 x 10. Into storage then 958 miles to the cupboard under the stairs.

I added 2 shelves. Then adjusted the table height and have unpacked some boxes.
Maximizing the space the best I can.
I brought all my rolling carts. They are cute and I like them.

As you can see I have some more organization to go. This is the start.
Join me for part 2.
Wish me luck.
.jpg)
Where to find me:
My BlogInstagramEtsy ShopTumblrTwitterFacebook
Join our group and tell us your moving stories!
We can't wait to see all the cre8ive things you come up with!