Showing posts with label fun. Show all posts

Friday, February 13, 2015

Getting To Know The Cre8ive Crew: Welcome New Member Karen Thomas


Please join me in welcoming Karen Thomas, artist and creator at Purpleberry Design

I live in a small Edwardian house in the leafy suburb of Mitcham (Melbourne, Australia) with my husband and twin boys.


What kind of art is your passion?

I am passionate about drawing and painting faces, and making cards and mini-books. I usually work in watercolour and coloured pencil am still learning about mixed media and have just discovered Copic markers!


How often do you create?

If I’m not creating everyday, I think about what I’m going to create.

How does it make you feel when you’re creating something?

When I’m in the zone and creating I feel that nothing can touch me and that there is nothing else in the world except the art that I am creating at that moment.


Describe your personality in three words.

Funny, quirky, dichotomy

What is your normal (bad word, none of us are normal) day like?

As the mother of twin boys my normal day can best be described as chaotic and busy but rarely dull!

What’s your superpower?

Sketching, I believe that I can sketch anything.


If you could hang out with any artist dead or alive who would it be and why?

Rudolf von Larisch, who was a Viennese lettering artist in the late 19th and early 20th centuries. I’ve just finished my Master of Arts thesis (38,000 words), which analysed his theories and discussed his under acknowledged contribution to modern graphic design theory. It would be nice to see if I was on the money.

What was your worst job?

Packing dried fruit into little bags, nearly sent me insane!

Which side of the bed do you sleep on? Can you sleep if forced to change sides?

Right and yes.

What’s your least favourite food? … most favourite?

brussel sprouts…asparagus.

Are you an introvert or extrovert? How do you feel about that?

I like to think of myself as a walking dichotomy. My Myer-Briggs profile is strongly extroverted (ENFP), but sometimes I want to crawl in a hole and not talk to anyone. I’m okay with that but it can confuse some people.


If we all came to your house for dinner what would you make for us?

Spaghetti with bacon, cherry tomato and asparagus topped with black pepper and grated Parmesan.

Find Karen at her blog, Pinterest and Etsy shop.

Give Karen a welcoming hello on our Facebook page:

Wednesday, February 11, 2015

String of Love: Simple Valentine's Decor by Kim Hyer

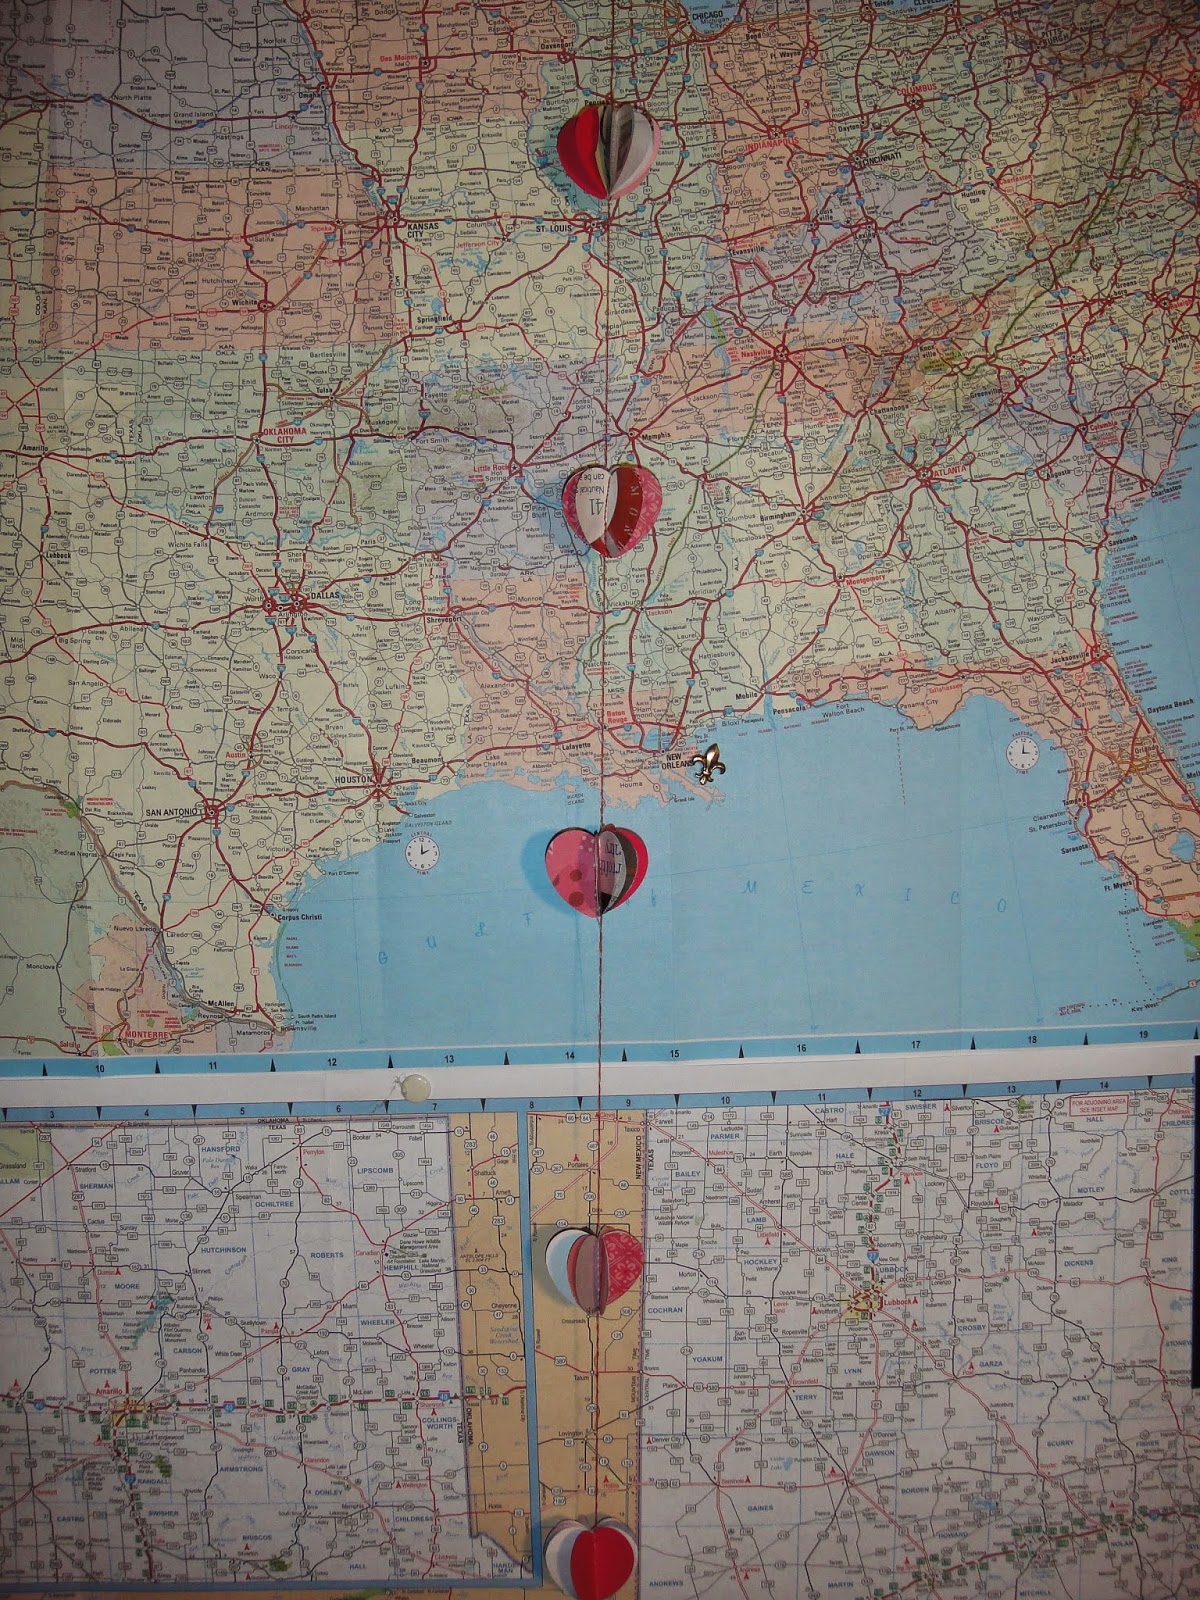
Every year February sneaks up and kisses me. I am unsuspecting...

I seem to always come back to this easy 1 hour project.

What you'll need:

A sewing machine
Heart shapes ( I use CM punches)
a old magazine
pink & red card stock

Here we go.....


Punch a few dozen shapes from a magazine. Do not worry about content or color. 

Just punch. Make a few from card stock for your exteriors and 
centers.


Take your pieces and stack them. Card stock on the front, back and center. You should have magazine pages (2 or 3) in between.


Line them up with the needle at the top point of the heart.


Stitch. I leave a machine top width between each heart. It is an easy measurement of about 6 inches.


I put 10 sets on a sting. I keep stitching between hearts because I like the twisted thread look.


Now fold the exterior pieces together against the thread.


One by one keep folding the magazine pages together. I do not fold the center card stock.


It will be a heart ball when you're done.
  

Do all ten pieces.
 

Then hang.


Now you have a festive little string of love.

I have used different shapes and sizes of this same approach for parties and other holidays.

Enjoy!

Kim 

Where to find me:


Make your String of Love then come over and post your pictures!!

Our Facebook Group Cre8ive Klatch


Monday, December 22, 2014

A Different Tag Post by Lori Leissner


Tis the season for tags it seems.  I love making tags. It's a quick, easy and inexpensive way to be creative.  If you want to be creative this time of year, quick, easy and inexpensive is definitely the way to go.

This little project is even less expensive than the norm because we are reusing clothing tags.  I  have a confession: I sometimes purchase clothing based on the quality of their tags.  The shorts that came with this awesome tag were not necessarily better than the alternatives (in spite of all the stretchy talk). The tag made the sale.  It was a good size and especially sturdy.  After this post, you are totally going to be checking tags. Now's a good time, too!   Those jeans you got your kid for Christmas?  Go check the tags!!!!


This tag had a plastic coating on it, which is probably why it was so sturdy and why I liked it so much.  I'll save you the trouble of all the paint peeling off and tell you to give it a good sanding first to rough it up.


Now gesso!   Yours won't look this smooth though because this was before all the paint peeled off and I had to sand it.


Use a heat gun or blow dryer to make it even speedier if, for example, you need it for a gift tag for a party you will attend in an hour (and you still don't have any makeup on).


Grab some complementary colors.


Slap some paint on there. Literally, you do not have to be all neat and tidy. You don't even have to cover all the gesso. That's what's so fun about this!  You're going to sand it again, and you want some of the other layers to show through, so just get some paint on there however you want.  Make sure it's dry.  Then sand it off slightly so the gesso and the bottom original color shows through a little.


Then paint another color on top.  Also let that layer dry and sand it a little, especially the edges.


Now you can paint your image.  I chose a bouquet of roses in a vase.


Use a Sharpie pen (not a Sharpie marker...a Sharpie pen...they work so much better over paint) and a white Uniball Signo  pen (the only white pen I've found to work all the time) to add embellishments.  Then add some words.  I think all art is a little better with some words.


Finally, add some frilly yarn and ribbons and spritz with a little clear coat and let dry.  These make great gift tags. This one is so sturdy, it could even be a Christmas ornament.  I especially love them as book markers. For a super quick gift, print out an Amazon gift card and use washi tape to attach this cute tag to the envelope.


Catch up with me on Facebook here: https://www.facebook.com/LeissnerArt 

My website here: http://www.leissnerart.com/ 

Instagram here:  http://instagram.com/leissnerart


Or Twitter:  https://twitter.com/leissnerart


Come join us for more cre8ive ideas and crafty connections at our Facebook group:

Cre8ive Klatch

Monday, November 24, 2014

Ice Resin Play: Darned Bubbles! From Susan's Art Circus

Hello all!

This is Susan from Susan’s Art Circus. As well as being a painter, mixed media artist and a dozen other things, I am the resident jewelry maker in the Klatch group.  After, and before, being an Ice Resin© design team member in 2012-13 I have played in resin. I love it! And I've started a series of posts over on my own blog with that obsession in mind. It’s all about playing with and experimenting with Ice Resin© and  today I bring an installment of that series over here all about molding putty…

Now there are two posts that came before this one today and you can find them here:


But today I want to talk about a couple different brands of silicone molding putty. Two brands and two things in particular…time and bubbles.

My favorite molding putty is, of course, from Susan Lenart Kazmer. (if you aren't familiar with her work go see...it's extraordinary!)

Ice Resin molding putty


You can mix it together in equal parts and use it immediately after pulling out the item you’re molding. This means you can mix, mold, wait about 15 minutes, pull your mold off of your item, and pour resin right into the cavity. This is what it looks like after the resin has a 24 hour cure molding with Susan’s product.


perfect sheep!


You can see it’s clear, detailed, and beautiful. First try. This took approximately 24 hours total with the bulk of that going towards allowing the resin to cure hard enough to remove the mold. You could manage it in 12 hours if you're really in a hurry.

Now let me show you how another brand, which I won’t name, works if used the same way. I will preface my statements with the fact that the purple product works very similarly to the yellow. It mixes the same, takes the same time period to be able to pull out your molded item, and will mold with great details. But there’s a huge time difference in order to get a clear cast which, for me when I’m busy producing for shows or my shop, means I’m losing money with the time it takes. There is only one of me so every minute counts.

Here is a new mold made with the purple product that has had the resin poured into it.  Both making the mold and pouring the resin happened within about an hour’s time.

resin just poured

Notice anything? Here is another picture taken about 45 minutes after pouring the resin into the mold.

bubble, bubble, toil and trouble

 Notice now? The type of material that this molding putty is made from de-gasses into the resin causing multiple bubbles to form. 

light thru bubbles

Sometimes this might be a happy accident but, for me, this means I have to make another piece. The only way to insure this doesn't happen is to let the mold cure for 24 hours before pouring your first resin into it. And sometimes even that doesn't stop it completely and you will still get more bubbles than you want or need.


So, for me, I use the yellow/white Ice Resin brand of molding putty and get some wonderful cast pieces in a time frame that I can manage.

piggie


No it's not a sheep or a doll...it's a piggie! 

If you try out any of these techniques please come join our group Facebook page at: 


...and let's chat!

Until next time,
Susan


Monday, November 17, 2014

Art Tag Tutorial From Sugarplum Patchwork

Hi! 

I'm Laney from Sugarplum Patchwork and I'm posting today with a tutorial for a drawn art tag. It would make a nice gift tag or bookmark, or just hang it on your design/inspiration wall.  I love making small things like this. It's quick and lets you create something most everyday if you can find a little quiet time.

I used watercolor paper, but you could start with a purchased blank tag if you like. I have found these addictive and have made a whole series of these tags.  

You can see more of them on my blog sugarplumpatchwork.com if you're interested!

So let's get to it!


Thanks so much for watching and I hope you are inspired to go create!  


If you make a tag share it on


I'd love to see what you make.