Showing posts with label mixed media. Show all posts

Thursday, March 19, 2015

Ice Resin 101 by Susan M. Walls

Hello everyone! Today I am doing a follow up from Ursula's post about her art belt buckle. Very cool by the way...I love the stamping and the color!

I thought I would go back to basics and show you how Ice Resin is the easiest. Also I'll throw in some tips to make Ursula's next resin project a breeze ;)

Let's begin with my desk and what it looks like when I'm in resin mode.


You can see all the things I have all over...but they all come in necessary. Well, almost all. This shot is actually at the end of a pour but this is the reality at the beginning too.

Tip #1: You will notice that all, most, of my things are on a tray. I always work on a tray or inside a cardboard box or something that I can move without disturbing the resin. Line your tray with a silicone mat or a garbage bag, resin won't stick to a garbage bag, then place youe pieces, and pour. Then if you need the table space you just pick up the whole thing and move it.

Tip #2: You can see the two bowls at either side of the tray? Those are filled with rice. They make the perfect beds for any bezel...or belt buckle...any piece that might have an uneven bottom. You just nestle them into the rice until they lay flat and your resin will also be even!

Tip #3: Cover everything!! Once poured resin attracts dust like nobodys business!

We will start with those lovely Ice Resin bottles on the right pouring equal amounts from each bottle, resin and hardener, into a little medicine cup.


You can see on the side there are two marks for the levels of the resin. I find that the measurements that are embossed on the cup completely disappear when you pour in liquid so I use the closest Sharpie marker and remedy the situation.

Using a wooden craft stick you will stir this for 2 minutes. At the end of that time your Ice will be perfectly clear and all mixed together.


Set it down and let it rest for 5 minutes. During this time all the bubbles, if there are any, will rise to the top. They either dissipate on their own or you can do this...


The easiest way to remove bubbles is to blow gently through a straw...you will be amazed that all the bubbles will just disappear.


You can see the bubbles in this pic alongside my prepared bezels.


Here are a few more prepared bezels. You can use a myriad of materials in your bezels. the top has an acrylic painted background with an actual gear, glued in place, plus some typed words on paper. The center pieces are also a mix of paint and paper. The bottom was painted several times then the paper was added as I poured the resin.


Here's another way to keep things level. I recycled this box and by cutting some strip out of it I made the perfect spots to tuck in my ring shanks and keep the bezel part level. 

Get resin on the box? Toss it out!

Tip #4: If you've overpoured or dumped your project over and then let it cure before getting the resin off places you don't really want it to be. DON'T PANIC! There are several things you can do. Use scissors and cut off the pieces hanging off. Pick at the resin that's stuck with your fingernails until it lifts (this only works while it's still soft..at least for me). In times of desperation I reach for the rubbing alcohol. Dip a Qtip in it and saturate the unwanted resin areas being careful not to rub it all over the top of your piece. Now you may have to do this more than once but I find it makes the resin brittle and then it will come off. 
If none of those options work then PANIC!

Pour your resin into your bezels and wait for the magic to happen! In 24 hours you have a soft cure. That means the resin fells a bit soft but you can touch it and cut or peel off any resin that pours over your bezel. Three days and you have a hard cure meaning you can now place a piece in a box or bag, wear it without worry of damaging the surface or sell your gorgeous piece!

Here's a few finished pieces so you can see how beautiful Ice Resin is...


Hearts! Hearts with 1955 dictionary words embedded into the resin. What word sums up your personality?


There's that gear again! I literally used a little ModPodge to secure the gear where I wanted it and poured resin over it. There's a bit of mica inclusion laying behind it...but that's another post!


Last but not least we will visit some science fiction. My favorite! The bezels here are all prepped with the paper clip art, sealed with ModPodge, and then resin. 

Way too much fun!

Are you tempted to try it? I like that rubber shape that Ursula used and then pulled off from around the resin. I'm going to steal that idea!

Until next time,
Susan

You can find us all at our FB page: 

You can find me at Susan's Art Circus
and also at the Cre8ive Circus where you can also purchase all the supplies to do some resin projects
or at my jewelry shop Charming Trinkets for finished pieces in wacky themes!

Tuesday, March 10, 2015

Two Book Reviews by Shells in the Bush

Hi everyone!! 

I'm Michelle Reynolds from www.shellsinthebush.com/ and the Cre8ive Klatch Team.


I recently purchased two books about drawing and painting mixed media faces which is something I am focussing on creating this year. One of my first mixed media faces I created was based on one of Pam Carriker's so I was thrilled to be able to learn more about faces from her.


1. Mixed Media Portraits with Pam Carriker - Techniques for Drawing and Painting Faces

This is Pam's third book but her first on faces and it covers the following areas: Purpose, Proportion, Personality, Palette and Projects. This is an excellent book for learning how to draw faces and then add your own style and personality to them to make them your own.

Pam gives instructions on how to make different face colour palettes with different mediums such as watercolour, watersoluble crayons and pan pastels.

There are fifteen step-by-step projects on differing substrates using differing mediums and techniques for you to try to see what works for you.

Pam's book includes comments from contributing artists such as Andrea Matus Demeng and Mindy Lacefield so you can learn if they use a sketchbook or art journal, their style and techniques. These contributions are like special extras and do not dominate the book.

2. Drawing and Painting Beautiful Faces - The Mixed Media Portrait Workshop with Jane Davenport

This is not Jane's first book, she has published books about ladybirds!!  As she created the projects for the book she filmed it for her online workshops (which I am doing and will review when it's finished!!). The book covers the following areas: Supplies Me, Drawing the Basics, Drawing the Details and Paint & Create.

Jane shows you how to draw your own whimsical girl and has some great info on hair - eyebrows, fringes, curls, twisted and braided!

Jane's book also has fifteen step-by-step projects to help you create beautiful girls.

Both books are great reference books as they have loads of information and inspiration to help you create some awesome artwork.  The step-by-step instruction to draw and paint faces are easy to follow too and the photos are great.

Which book should you buy??? I hear you when you say you can only buy one book and don't know which one to buy.

Ask yourself:
- whose style of art and face do you prefer/like best?
- what style of face do you want to create? More realistic?? or More whimsical? 

I love both books even though my style is more similiar to Pam Carriker's I found loads of useful information and inspiration in Jane's book.


For more about Michelle please explore her links:

Instagram: ShellsintheBush


Thursday, March 5, 2015

Inspiration Decks

You've probably heard of ATCs (Artist Trading Cards.) But have you heard of "Inspiration Decks?" They are like ATCs on steroids!

Like ATCs, Inspiration Deck Cards are yummy little works of art, but instead of being individual cards, they are grouped into decks of 52 Inspirational cards (one for each week of the year) which makes playing cards the perfect substrate on which to create them.

They can be made using any medium that can be attached to a playing card, but normally they are either painted or "paper-pieced."

Generally they are done within a group and traded so you end up with 52 different styles. I've participated in three of these group swaps, once as a hostess, and they are a lot of fun.


But, they are a lot of work to put together, and there isn't always time or enough people to participate to do them in a group setting. I found out (kind of by accident) you can do your own and like them just as much! In fact, maybe more so, because you can do them in a single style that is more your taste, and say all the things you want to say.

How did I find out by accident? Well, playing cards are not ALL the same size, and I didn't know that! I completed a full deck for a group swap before I realized that the cards I used were smaller than the called for 2 1/2" x 3 1/2" size. So, I started over and just saved the original deck for myself!


I won't say it is a quick little project, but there are ways of speeding up the process if you're thinking you might like to put together a deck or a few decks for Christmas gifts. With over a week left before Christmas, it is conceivable you could get three decks done with time left over!

When you're doing a group swap, the back side of the card will usually have your promotional info on it, so that the people getting your card will be able to get in touch with you if they want to. If you're making your own deck, you won't need to add that info 52 times, so you can pick cards with pretty backs and leave them as is, OR, you can use just 26 cards and do your sayings on both sides, then use a joker as a "cover card" and put your info on the opposite side.

I start by coating both sides of the cards with a very light coat of gesso. It doesn't need to be really expensive gesso - the Folk Art stuff is fine.


Using a production method, doing each stage 52 times rather than making each card individually, will speed up the process a lot.


Once it is dry, the fun begins! You can make the cards as simple or as fancy as you want. I tend to be an over-achiever on this front, so I do lots of layers - paint, chalk, stamping, pen work... But, the important part is the inspirational sayings you'll choose. You may have 52 right on the tip of your tongue, but if not, just Google "inspirational sayings" and you'll be able to come up with tons to choose from!

I type them up in a bunch of different fonts so that even though the design and color scheme is the same, they look a little different.


Another thing you'll want to decide is how you want to present the cards. I usually see them punched in the upper left hand corner and secured with a large ring. If you do that, you want to make sure your words don't get put in that corner. If you're going to either make a little box for them, or tie them together with a lovely ribbon, you won't need to worry about that!

So. What do you think? Do you know anyone who could use a little weekly inspiration?


You can find Janet's wandering cre8ive pursuits and other cre8ive musings on her blog: 


Come join us at our Fecebook group and share your cre8ive self!


Cre8ive Klatch


Tuesday, February 17, 2015

My Healing HeART by Linda Kay


I have been on a journey of love the last 2+ years. A journey of self care, learning to let go of past hurt and re-start my life filled with love, trust and happiness.

I found a way to take the bad, horrible times and learn from them.

I've learned a lot! I've learned that I am much stronger than I ever thought I was.

I learned that I can see through the darkest parts and still find that wonderful, light-hearted part of myself still shining brightly.

I have found that there truly are gifts from the struggles.

I have learned to let go and love again.

This painting is the results of a process of letting go that I developed recently. It represents the darkness and pain I traveled through to get to the bright and shining heart that I am able to have today. The warmth that comes from my heart is the results of the lessons I learned by going through the difficulties.

I wouldn't want to live it all over again, but I wouldn't ever want to change my past. It brought me to where I am now. It brought me to this place where I can stand tall and proud.

I made it through!

This process is going to become a class I will teach. First it will be available through the art center I am a part of. Then I want to bring it's healing qualities to many more here on-line, travel teaching and sharing where I can.

It is a powerful process that sets you heart free in so many ways.

It is a way I can help others heal and find their own happiness and love again.

A very special gift ~ from me to you!

Linda Kay

www.lindakaysart.com

Cre8ive Klatch our FB group.
Come over and chat!


Friday, February 13, 2015

Getting To Know The Cre8ive Crew: Welcome New Member Karen Thomas


Please join me in welcoming Karen Thomas, artist and creator at Purpleberry Design

I live in a small Edwardian house in the leafy suburb of Mitcham (Melbourne, Australia) with my husband and twin boys.


What kind of art is your passion?

I am passionate about drawing and painting faces, and making cards and mini-books. I usually work in watercolour and coloured pencil am still learning about mixed media and have just discovered Copic markers!


How often do you create?

If I’m not creating everyday, I think about what I’m going to create.

How does it make you feel when you’re creating something?

When I’m in the zone and creating I feel that nothing can touch me and that there is nothing else in the world except the art that I am creating at that moment.


Describe your personality in three words.

Funny, quirky, dichotomy

What is your normal (bad word, none of us are normal) day like?

As the mother of twin boys my normal day can best be described as chaotic and busy but rarely dull!

What’s your superpower?

Sketching, I believe that I can sketch anything.


If you could hang out with any artist dead or alive who would it be and why?

Rudolf von Larisch, who was a Viennese lettering artist in the late 19th and early 20th centuries. I’ve just finished my Master of Arts thesis (38,000 words), which analysed his theories and discussed his under acknowledged contribution to modern graphic design theory. It would be nice to see if I was on the money.

What was your worst job?

Packing dried fruit into little bags, nearly sent me insane!

Which side of the bed do you sleep on? Can you sleep if forced to change sides?

Right and yes.

What’s your least favourite food? … most favourite?

brussel sprouts…asparagus.

Are you an introvert or extrovert? How do you feel about that?

I like to think of myself as a walking dichotomy. My Myer-Briggs profile is strongly extroverted (ENFP), but sometimes I want to crawl in a hole and not talk to anyone. I’m okay with that but it can confuse some people.


If we all came to your house for dinner what would you make for us?

Spaghetti with bacon, cherry tomato and asparagus topped with black pepper and grated Parmesan.

Find Karen at her blog, Pinterest and Etsy shop.

Give Karen a welcoming hello on our Facebook page:

Wednesday, February 11, 2015

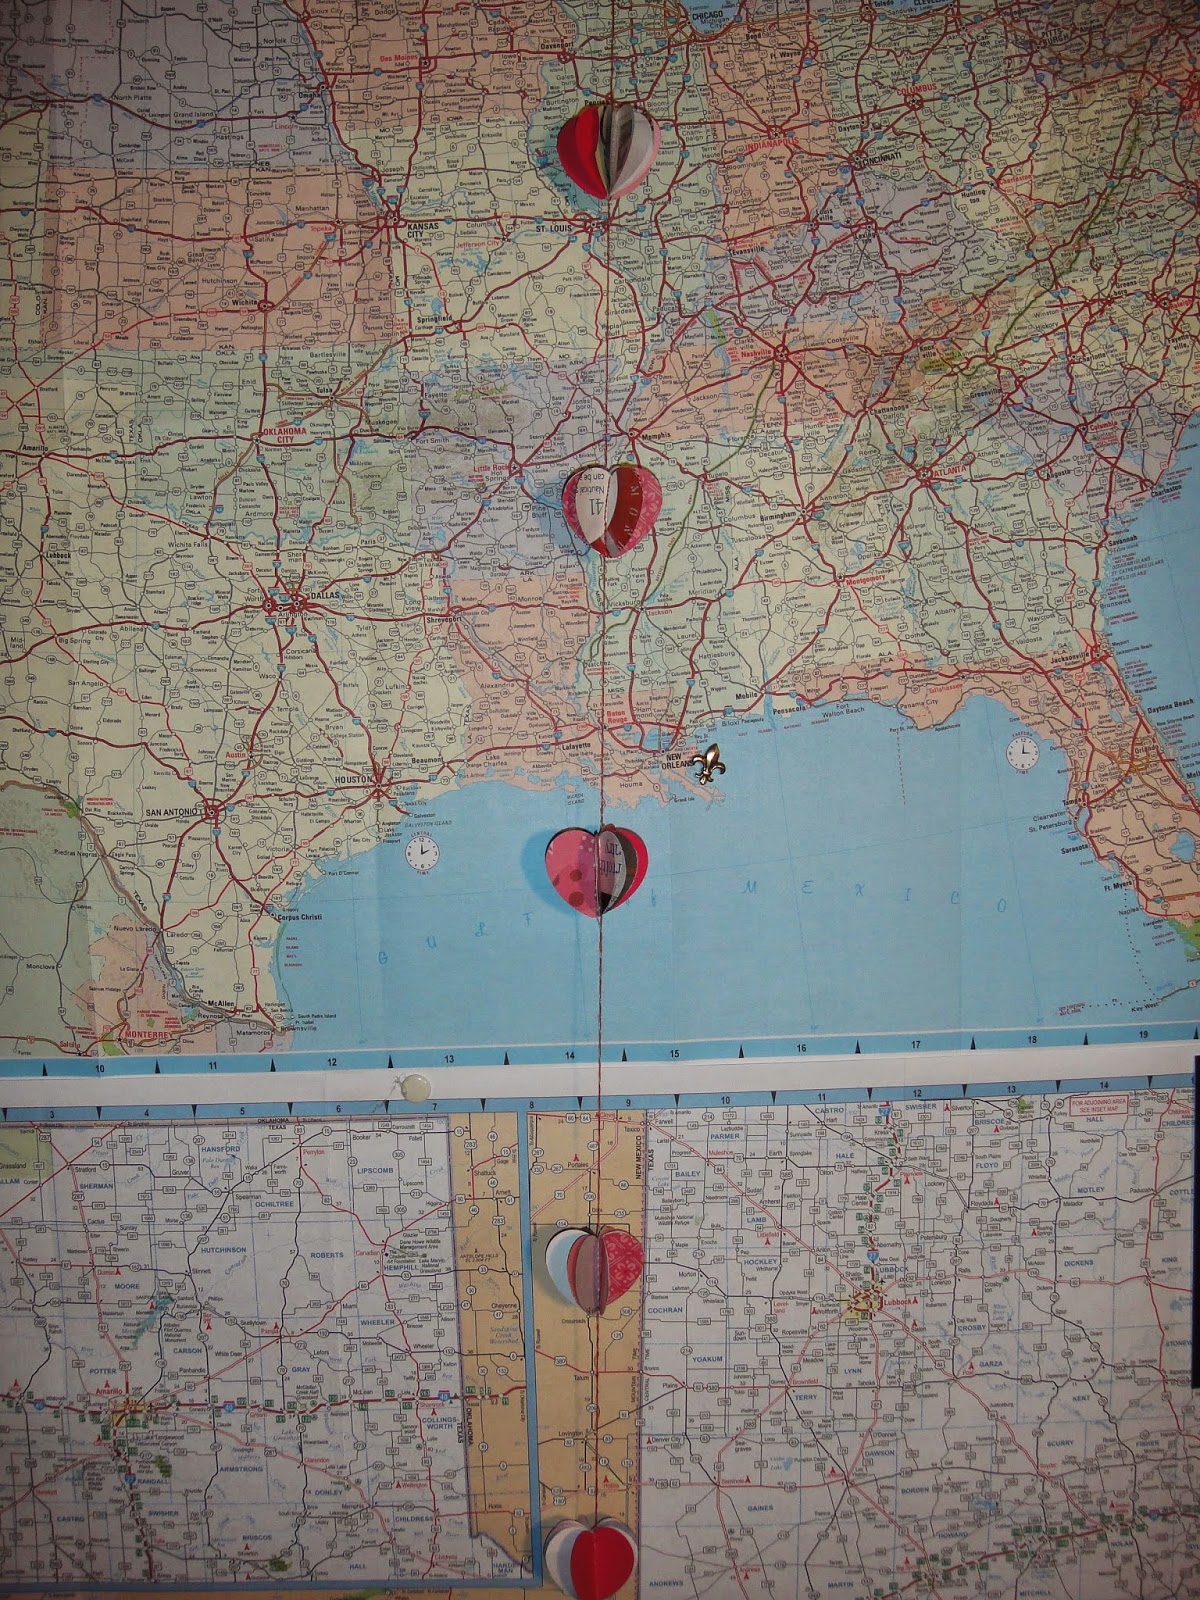
String of Love: Simple Valentine's Decor by Kim Hyer

Every year February sneaks up and kisses me. I am unsuspecting...

I seem to always come back to this easy 1 hour project.

What you'll need:

A sewing machine
Heart shapes ( I use CM punches)
a old magazine
pink & red card stock

Here we go.....


Punch a few dozen shapes from a magazine. Do not worry about content or color. 

Just punch. Make a few from card stock for your exteriors and 
centers.


Take your pieces and stack them. Card stock on the front, back and center. You should have magazine pages (2 or 3) in between.


Line them up with the needle at the top point of the heart.


Stitch. I leave a machine top width between each heart. It is an easy measurement of about 6 inches.


I put 10 sets on a sting. I keep stitching between hearts because I like the twisted thread look.


Now fold the exterior pieces together against the thread.


One by one keep folding the magazine pages together. I do not fold the center card stock.


It will be a heart ball when you're done.
  

Do all ten pieces.
 

Then hang.


Now you have a festive little string of love.

I have used different shapes and sizes of this same approach for parties and other holidays.

Enjoy!

Kim 

Where to find me:


Make your String of Love then come over and post your pictures!!

Our Facebook Group Cre8ive Klatch