Showing posts with label upcycled. Show all posts

Wednesday, February 11, 2015

String of Love: Simple Valentine's Decor by Kim Hyer

Every year February sneaks up and kisses me. I am unsuspecting...

I seem to always come back to this easy 1 hour project.

What you'll need:

A sewing machine
Heart shapes ( I use CM punches)
a old magazine
pink & red card stock

Here we go.....


Punch a few dozen shapes from a magazine. Do not worry about content or color. 

Just punch. Make a few from card stock for your exteriors and 
centers.


Take your pieces and stack them. Card stock on the front, back and center. You should have magazine pages (2 or 3) in between.


Line them up with the needle at the top point of the heart.


Stitch. I leave a machine top width between each heart. It is an easy measurement of about 6 inches.


I put 10 sets on a sting. I keep stitching between hearts because I like the twisted thread look.


Now fold the exterior pieces together against the thread.


One by one keep folding the magazine pages together. I do not fold the center card stock.


It will be a heart ball when you're done.
  

Do all ten pieces.
 

Then hang.


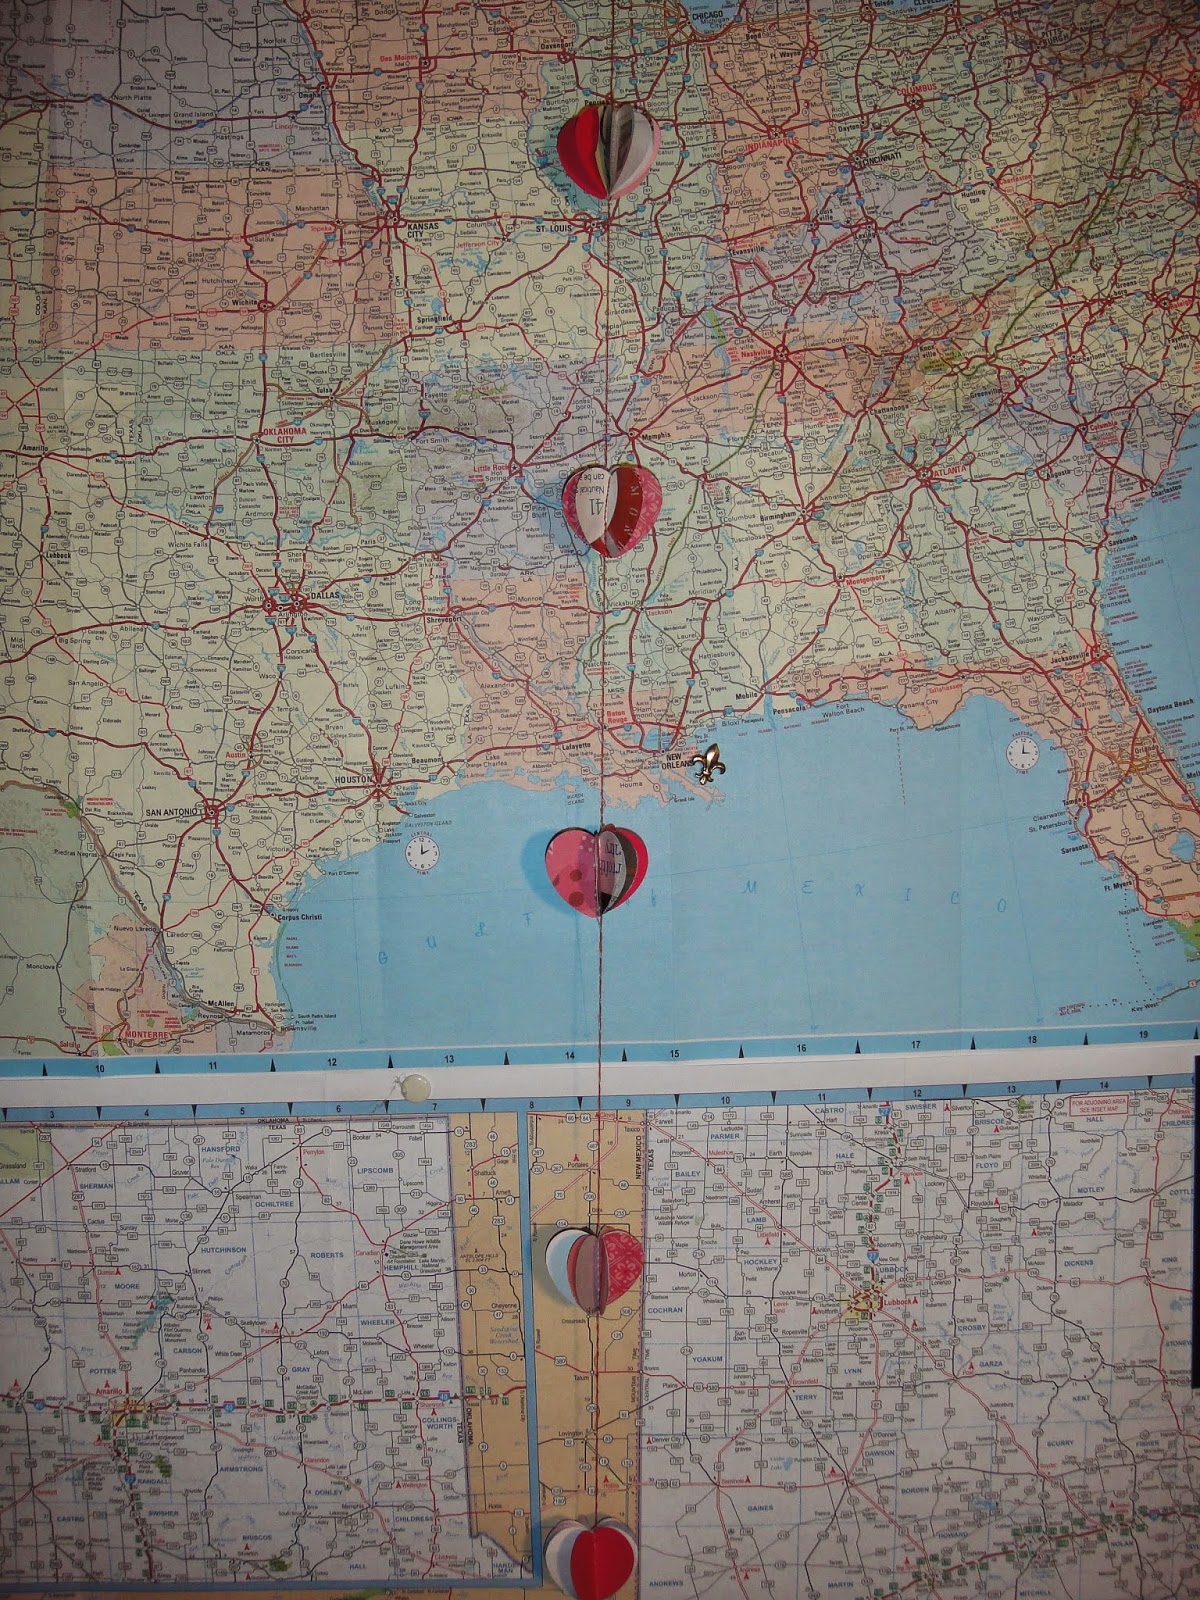
Now you have a festive little string of love.

I have used different shapes and sizes of this same approach for parties and other holidays.

Enjoy!

Kim 

Where to find me:


Make your String of Love then come over and post your pictures!!

Our Facebook Group Cre8ive Klatch


Wednesday, December 24, 2014

Disposable Cupcake Holder by Shells In The Bush

We know that everyone must be headed out to parties and family get togethers for the holidays. Here is your tutorial for the best cupcake carrier for your event!! 


You all need to make one and post your picture of your creation to our Facebook page!! We will be looking for them!


Hi everyone!!

I'm Michelle Reynolds from www.shellsinthebush.com/ and the Cre8ive Klatch Team.

I'm here today to show you how I made this pretty disposable cupcake holder and to inspire you to create your own.


I've just baked two dozen cupcakes to take to my high school reunion and needed a way to transport them safely so I decorated an old cereal box.  This is a great idea if you have to take a cake or cupcakes to an event such as school party or a fair donation and you don't want to be worried about getting your plate back or the plastic wrap touching the icing - a couple of toothpicks will help with that if your cake is bigger than the sides of the box.


Supplies 

~ an old cereal box

~ craft knife or scissors
~ tape, sticky tape and double sided tape
~ paper to decorate - I used gelli prints but you could recycle wrapping paper or scrapbooking paper.
~ washi tape


 1. Tape up the opening of the cereal box.


 2. Use the craft knife to cut away one large side - I put this back into the bottom of the box to strengthen it.

 3. Measure and cut the side and bottom panels and place in box.


4. Use the double sided tape to stick the paper to the inside of the box - just one small piece in the middle of the side is all I used. I used sticky tape at the bottom of each outside corner to keep the paper in place.


 6. Measure and stick washi tape to each corner edge - this helps keep the paper in place and makes the box look prettier.


There you go - one pretty cupcake holder...hmmm...maybe too good for cupcakes...will try to take it home and re-use it for something else if there isn't too much icing on the paper...


I hope you have fun creating your Diposable Cupcake Holder.  Please join our Cre8ive Klatch FaceBook Group and share your creations - I would be thrilled to see them and I'm happy to answer any questions you may have.

Thank you.

Michelle.

PS If you would like to buy some gelli prints to use to create this cupcake holder or in your art journal, for collage and mixed media art then check out my Etsy store for some great Gelli Print Packages.